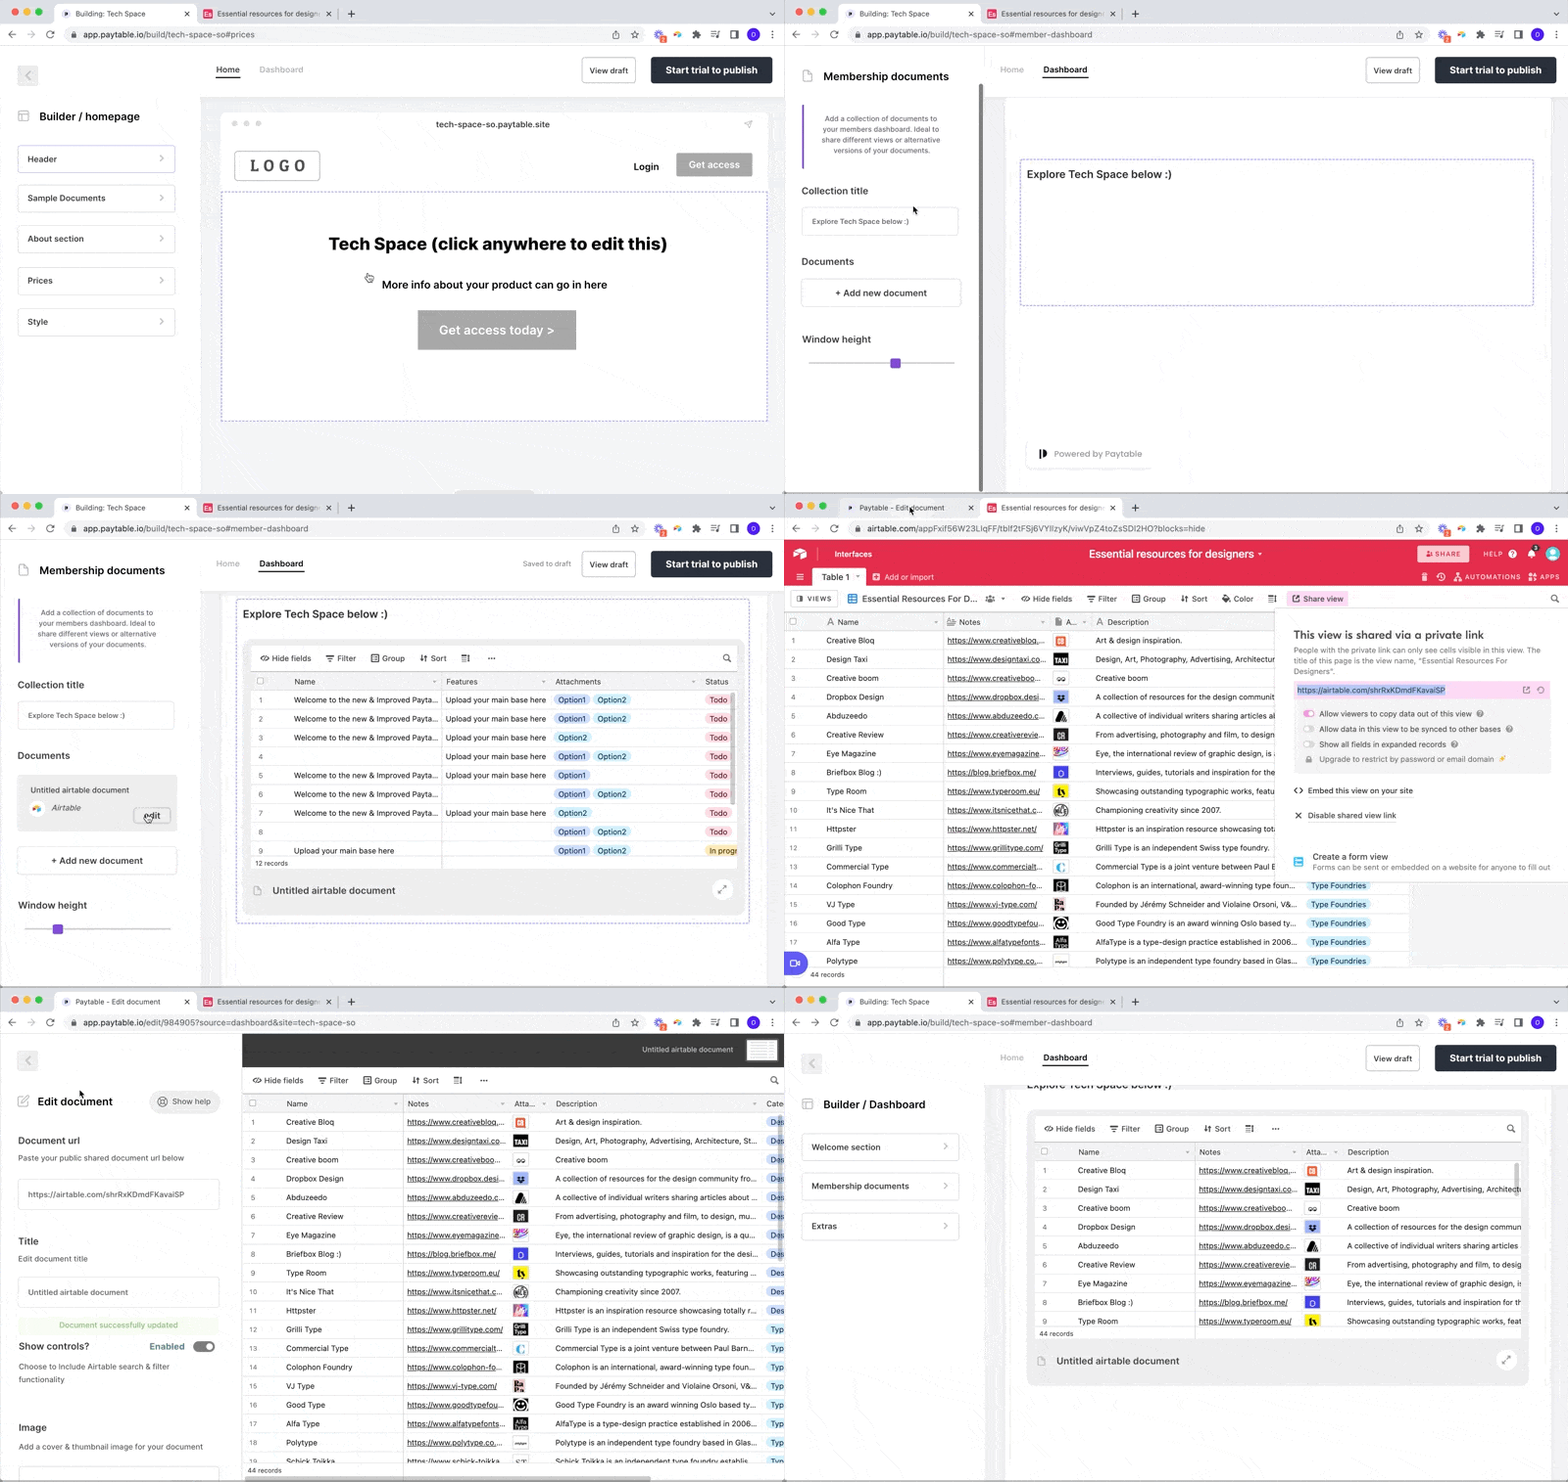
There are two ways to access the Paytable Site Builder:
- From the Admin dashboard click on ‘Sites’ in the meny and then ‘Build’ next to the site you want to customise (you may have more than one site).

- From the Site Dahboard click ‘Builder’ at the top of the menu.

There are two main steps to customising your Site.
Step 1: Customise your Members Area
This is where you add your member only document(s). You can also customise the welcome section and add additional documents that you would like your members’ to have access to.

You can add your document(s) by opening up the ‘Membership Documents’ panel. Users will be required to login to view the page.

Step 2: Build your Homepage
Think of this as your sales page to promote your database or documents. From here you can funnel users to register, pay and login to access your Members area.
Hover over sections and click anywhere to open up the content panel for the relevant section:


You can add sample versions of your database to your Homepage easily using our document uploader. To open up the Sample documents panel, click Sample documents in the left hand panel, from here you will be able to add and manage sample versions. You can also easily add multiple documents and change your preview window height from within the sample documents panel.

If you want to add more copy, FAQ’s, images or videos to your Homepage, you can do so easily by clicking About section in the left panel to open up the Text & Media section. Simply start typing and make sure to click the green check confirmation button to save changes.

You can also choose which prices to display on your Homepage.
Click the Prices button to manage or add new prices and payment terms. Add a subscription option, a single (one-off) fee, or offer free access. Please note that each price can be toggled to show on your Homepage or to only be visible with a direct link if you want to offer exclusive price options to specific users. You can change the cycle, add comparison prices, and set free trial periods as required.

Important information before adding Prices
Before you can accept payments, you’ll need to connect an existing Stripe account to your Paytable account. This can be done so easily by navigating to your Payouts page accessed from the Admin Dashboard. To get started make sure you have an active Stripe account and are logged into Stripe in the same browser, then from your dashboard click Payouts.

Then click Connect existing account to open up the Stripe connect onboarding screen.

Please select which Stripe account you would like to connect to Paytable and complete the onboarding details required by Stripe. You should then be returned back to the payment settings page and a green verified badge will show if you have successfully onboarded.

Next Steps
1. Preview your pages
Once you’ve customised your Members Area and Homepage, you can preview these at any time by clicking ‘View Draft’ from the top right of the page.
2. Embed URLs into your existing website
From the ‘Prices’ page you can access your checkout URLs for each price point.
From the ‘Share’ page you can access your Login Page URL and Homepage URL.
You may wish to embed these in your existing website or sales site, particularly if you choose not to use the Payatble Homepage.
3. Create Discount codes (optional)
If you need to create discount codes for your offering, you can do this from your ‘Pricing’ page OR directly in Stripe by creating a coupon and promotional code. If you use stripe, please note that your discount codes will not be displayed in Paytable.
4. Publish your site
When you are ready to publish your Site, you’ll need to upgrade to one of our paid plans.
You’ll then be able to add a custom domain if required.
5. End to end testing of your Site
Before launching your site to your customers, we recommend you test your end-to-end user flows.
When you do this please ensure that:
- You use a unique email address (one that has not been used before on your Site)
- You test in an incognito browser
And that’s it, you’re all set! You should be ready to go and able to now accept payments.